API Keys
Generate API keys to connect external tools and services to your Outsprint account. Each key has scoped permissions so you can control exactly what it can access.
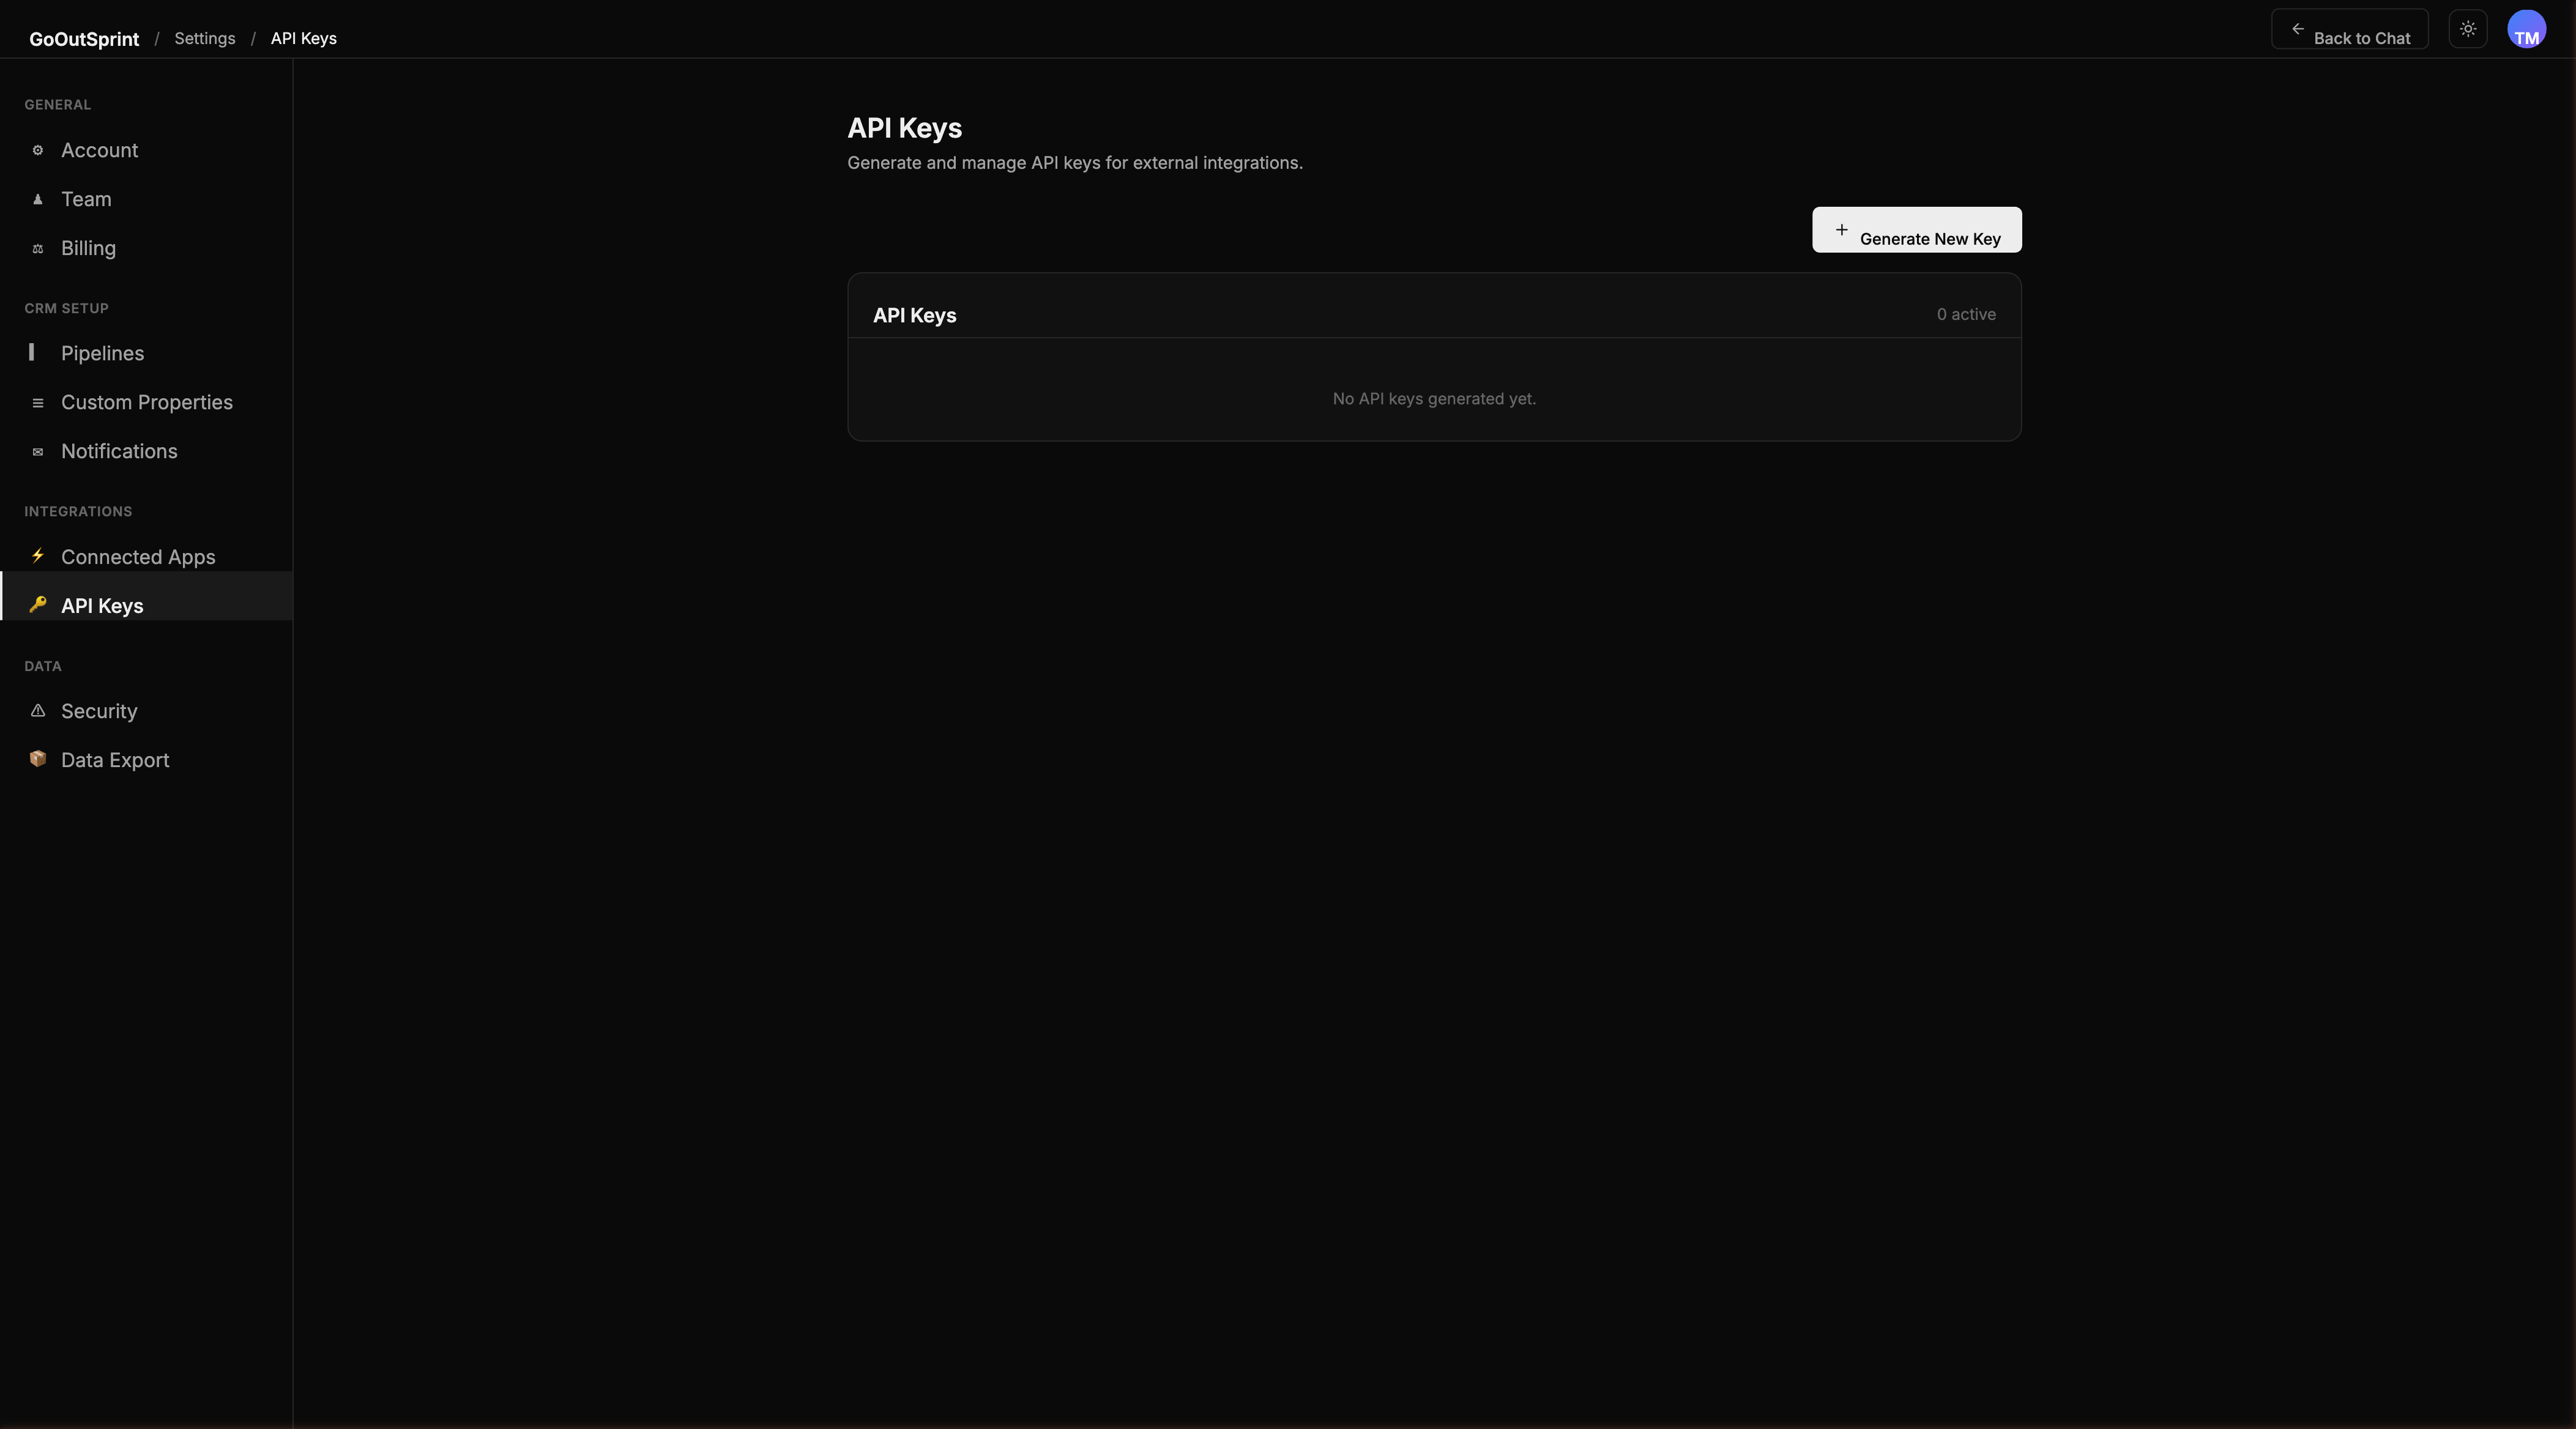
Creating an API Key
- Go to Settings > API Keys
- Click Create Key (or Generate New Key)
- Enter a descriptive name (e.g., "Zapier Integration")
- Configure permissions by entity type (Contacts, Companies, Deals, Tickets, Activities) and action level (Read, Write, Delete)
- Set an expiration: 30 days, 90 days, 1 year, or Never
- Click Create Key
Warning
The full API key is shown only once after creation. Copy it immediately and store it in a secure location. You will not be able to view it again.
Key Format
API keys use the prefix gos_live_ followed by a random string. For example:
Using Your API Key
Include the key in the Authorization header of your API requests:
Managing Existing Keys
The active keys table shows each key's name, masked prefix, permission summary, creation date, last used timestamp, and expiration.
From the ... menu on each key, you can:
- View usage -- see request counts and top endpoints over the last 7 and 30 days
- Edit permissions -- modify scoped permissions without regenerating the key
- Regenerate -- create a new key value (the old key is immediately invalidated)
- Revoke -- permanently disable the key
Rate Limits
Each API key inherits your account's default rate limit of 1,000 requests per minute. Admins can configure per-key rate limits with presets of 100, 500, 1,000, or 5,000 requests per minute.
Security
- Keys are hashed (SHA-256) before storage -- the raw key is never persisted
- Revoked keys are kept for audit trail purposes but cannot be reused
- All API key actions (create, edit, regenerate, revoke) are logged in the audit log
Pro Tip
Create separate API keys for each integration so you can revoke access to one service without affecting others.